
Lower Removable PFM Full Arch Bridge
Sometimes PFM is the only option. When a patient requests using existing post core borne locator attachments in a new, removable full arch lower bridge.
Non-precious/chrome is required for strength in thinner sections.
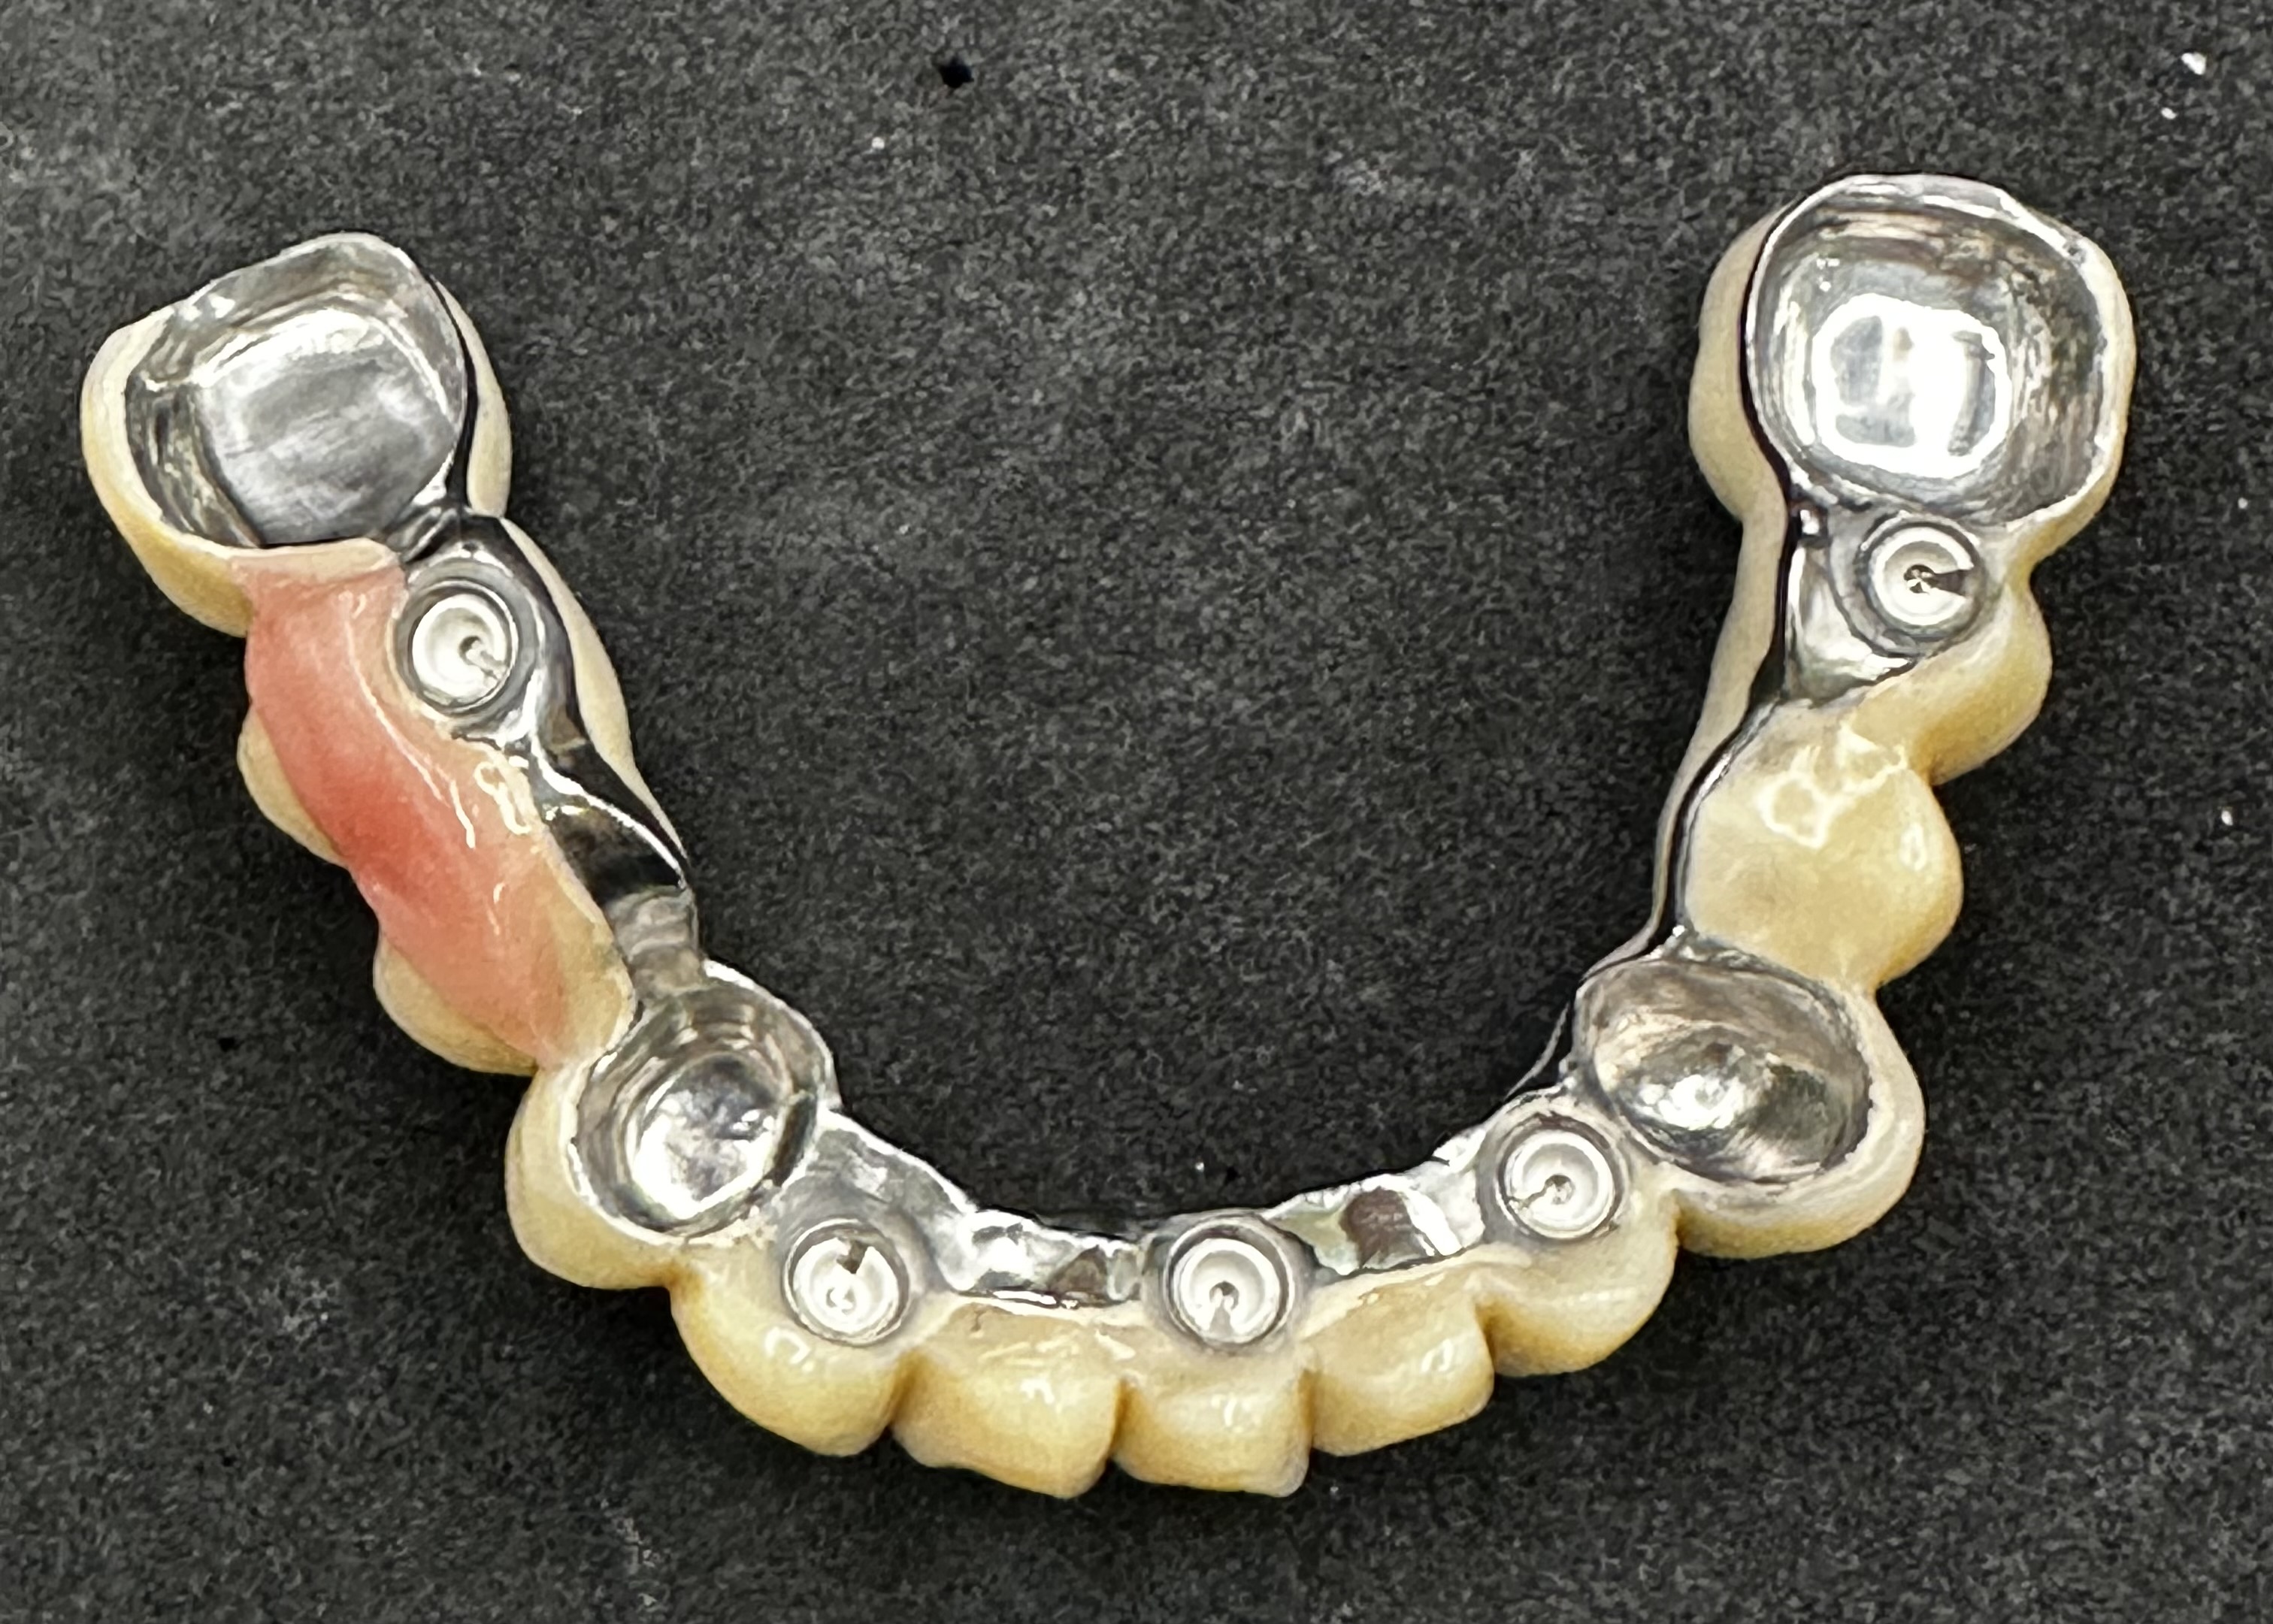
1
Framework with the cemented female locator parts clearly visible along with the inside of non-cemented copings to locate over milled cemented gold or zirconia copings already fitted.
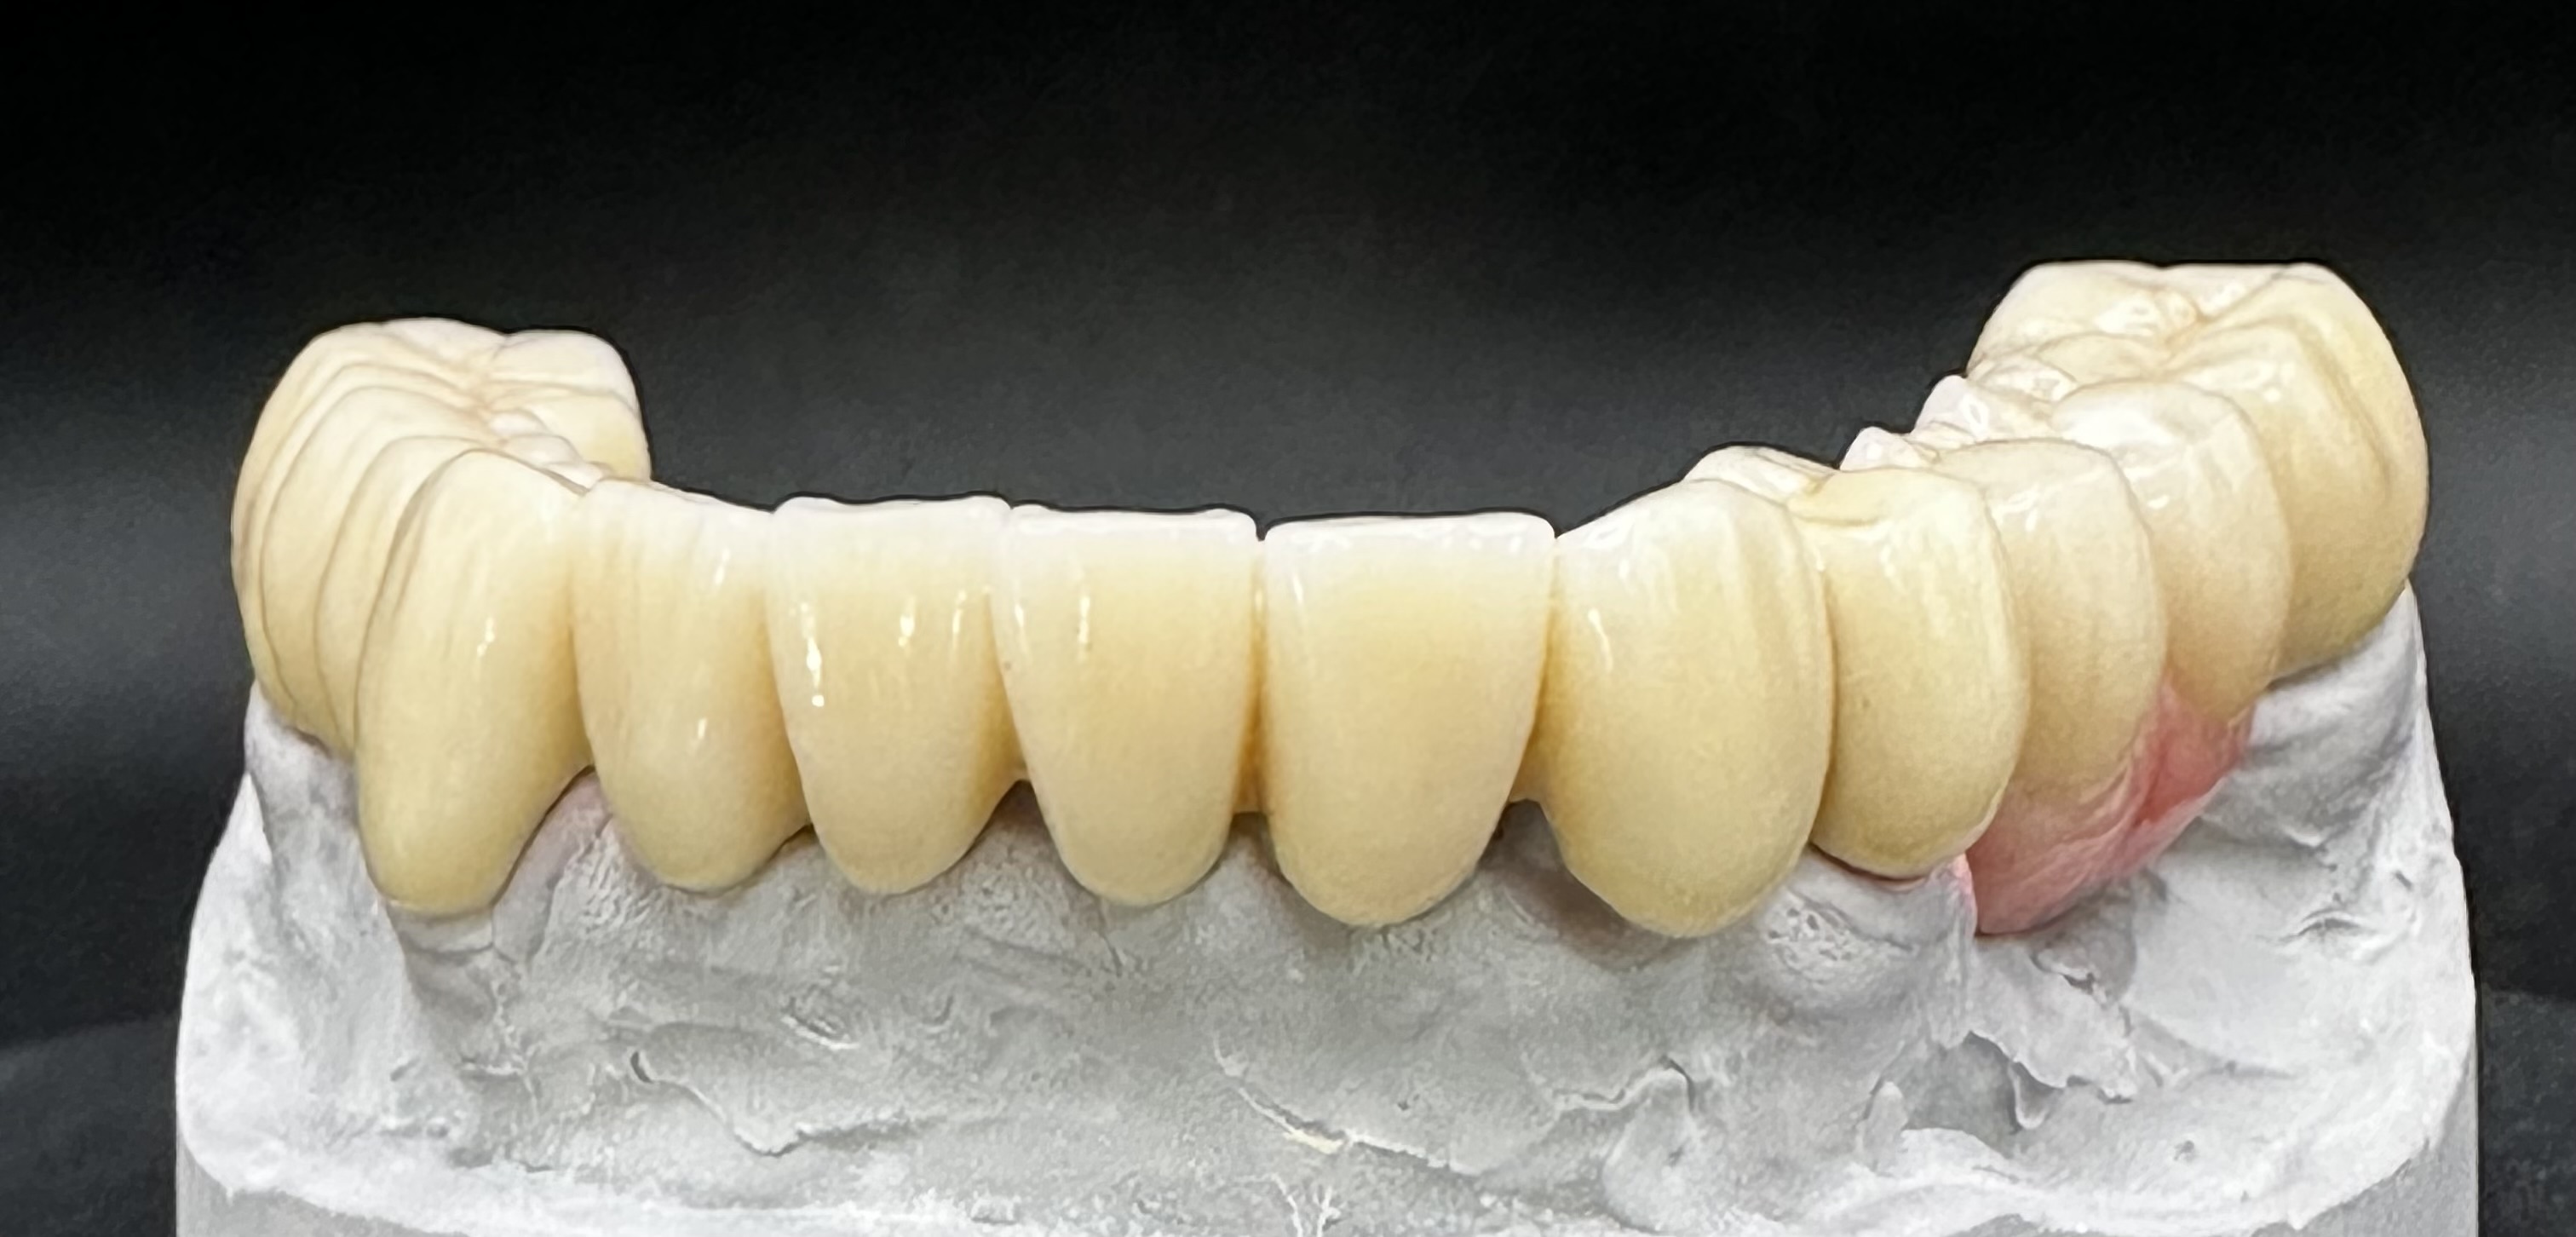
2
The close adaptation of the Pontic areas to the soft tissue.
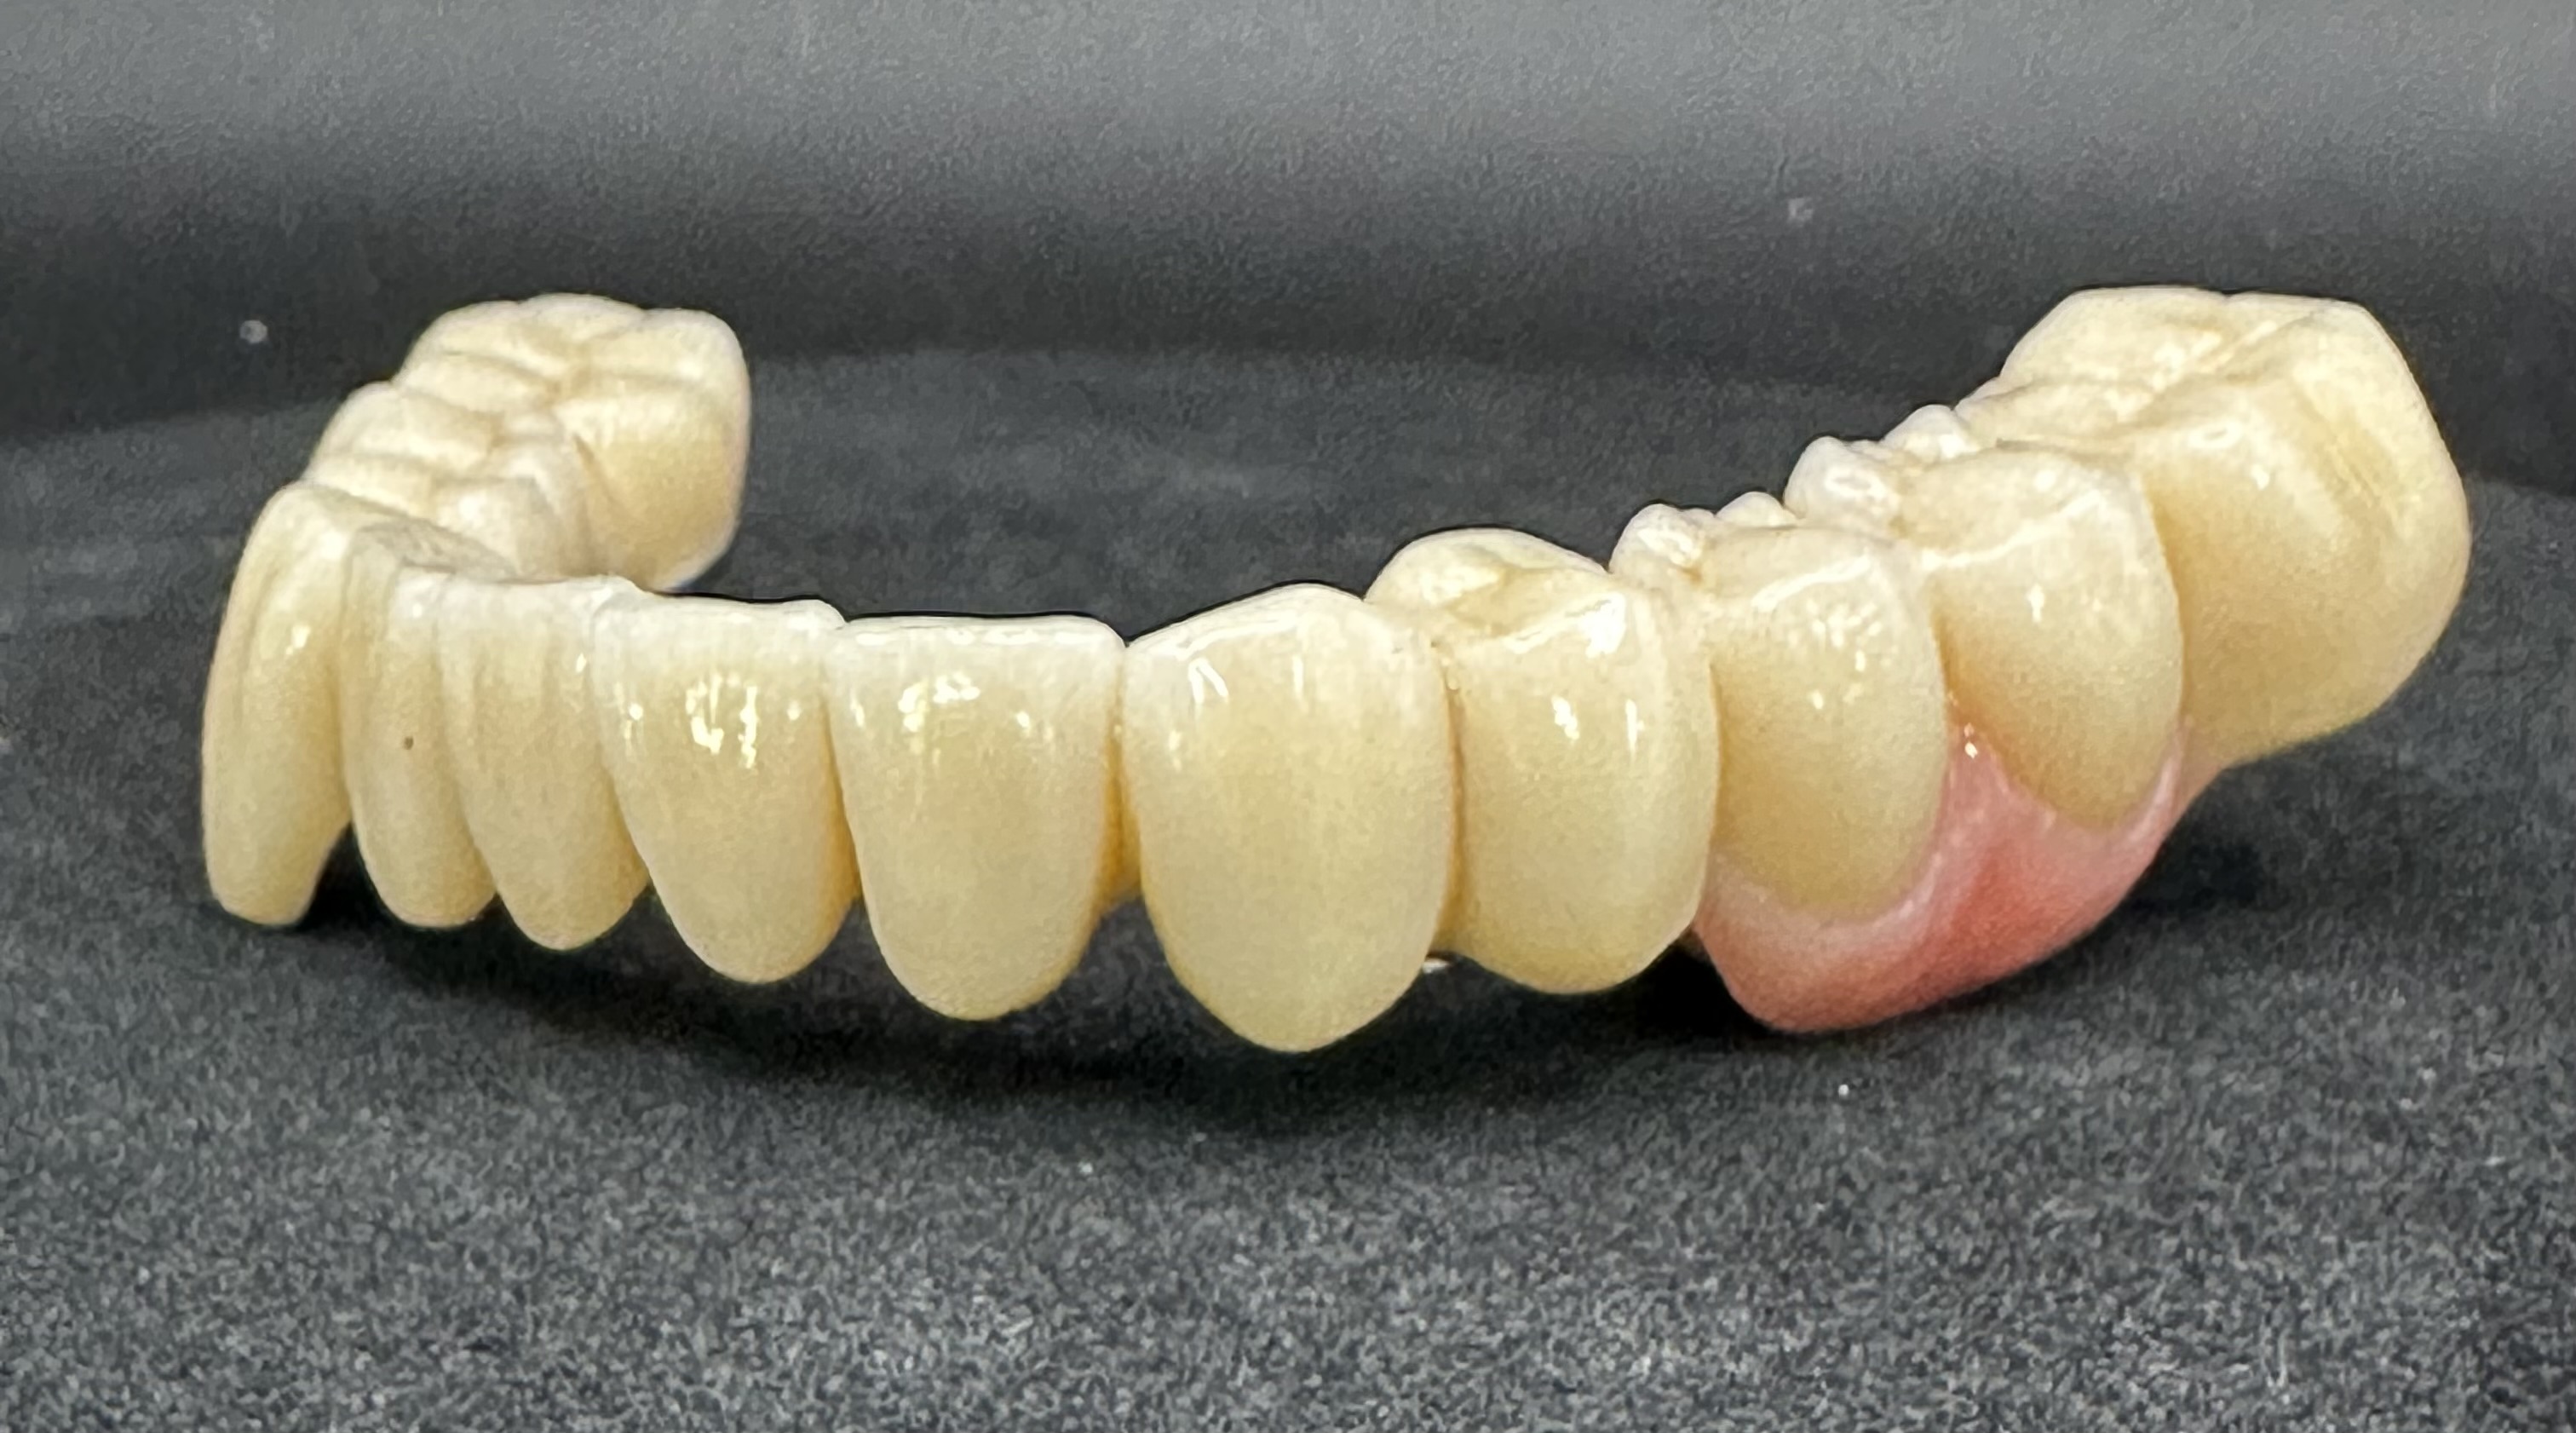
3
The close adaptation of the Pontic areas to the soft tissue.